Search This Blog

Thursday, September 9, 2010

Brownie Truffles

Brownie Truffles

Ok so the vote this week turned out to be a tie so I decided to make something that was not on the list PLUS I had a request for "something chocolate" so here's SOMETHING CHOCOLATE!  While I cant take credit for the method of making these I think they are pretty special and well worth sharing!
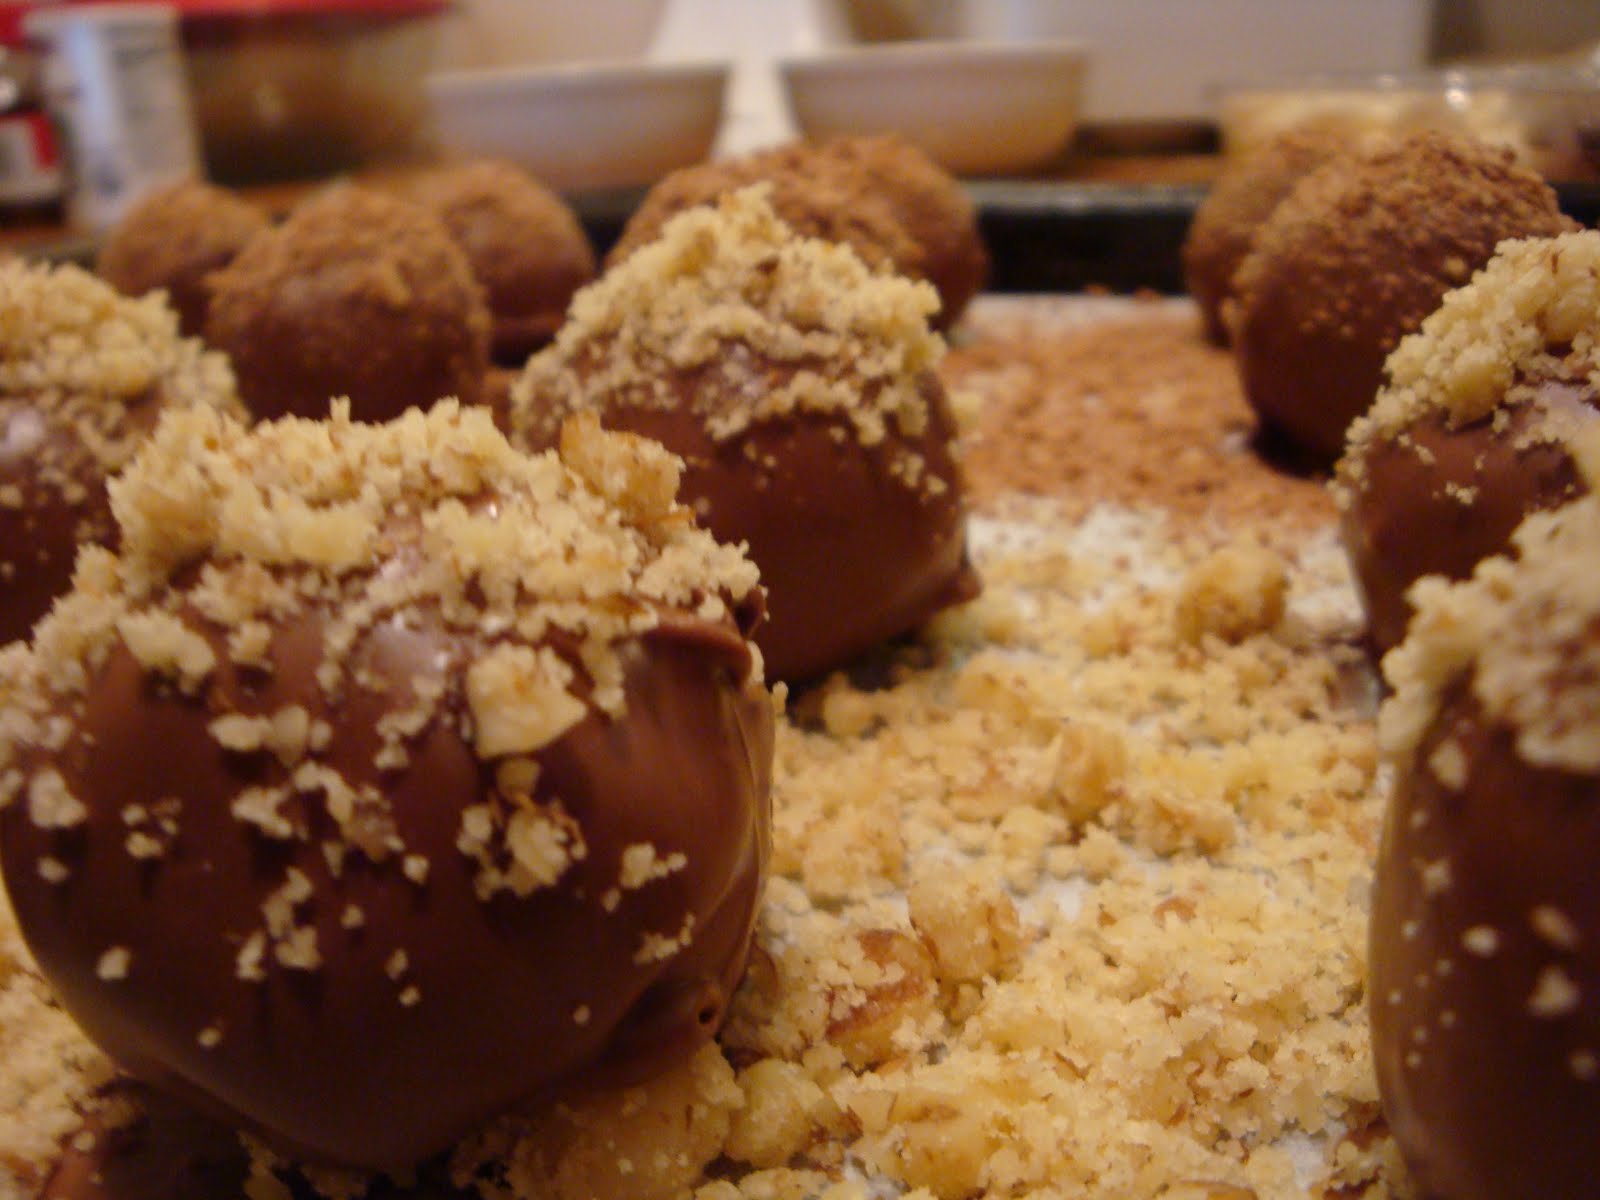
These are actually pretty easy to make they are just a little time comsuming.  The first step is to start off with a great brownie recipe, I use the king arthur flour recipe (which can be found on their website).  After you bake and cool the brownies, cut the edges off.  I know, I know thats the best part BUT not for this recipe (plus it gives you something to munch on while your working).  Cut the brownies into small chunks (about 1 1/2 inches). 
 Roll each of the chunks into balls.

Once you have all of your brownie balls prepared, get your toppings ready.  After you get yourself all set up with balls and toppings melt your chocolate.  I used the chocolate melting wafers you get at the craft store. While its not the best chocolate for eating, its easy to work with and it's just fine for these purposes.  Drop one ball at a time into the chocolate and use a spoon to cover the brownie with chocolate.  Once you get the ball campletely covered use a fork to lift the ball out of the chocolate.  Tap the fork lightly against the bowl to help the excess chocolate drip off the ball.  Carefully place the chocolate covered brownie of wax paper.
Once you get the covered balls onto wax paper sprinkle with toppings of your choice WHILE THE CHOCOLATE IS STILL WET.  I used sprinkles, white chocolate, heath bar crumbs and walnuts as my topping but you can pretty much use anything you can think of.
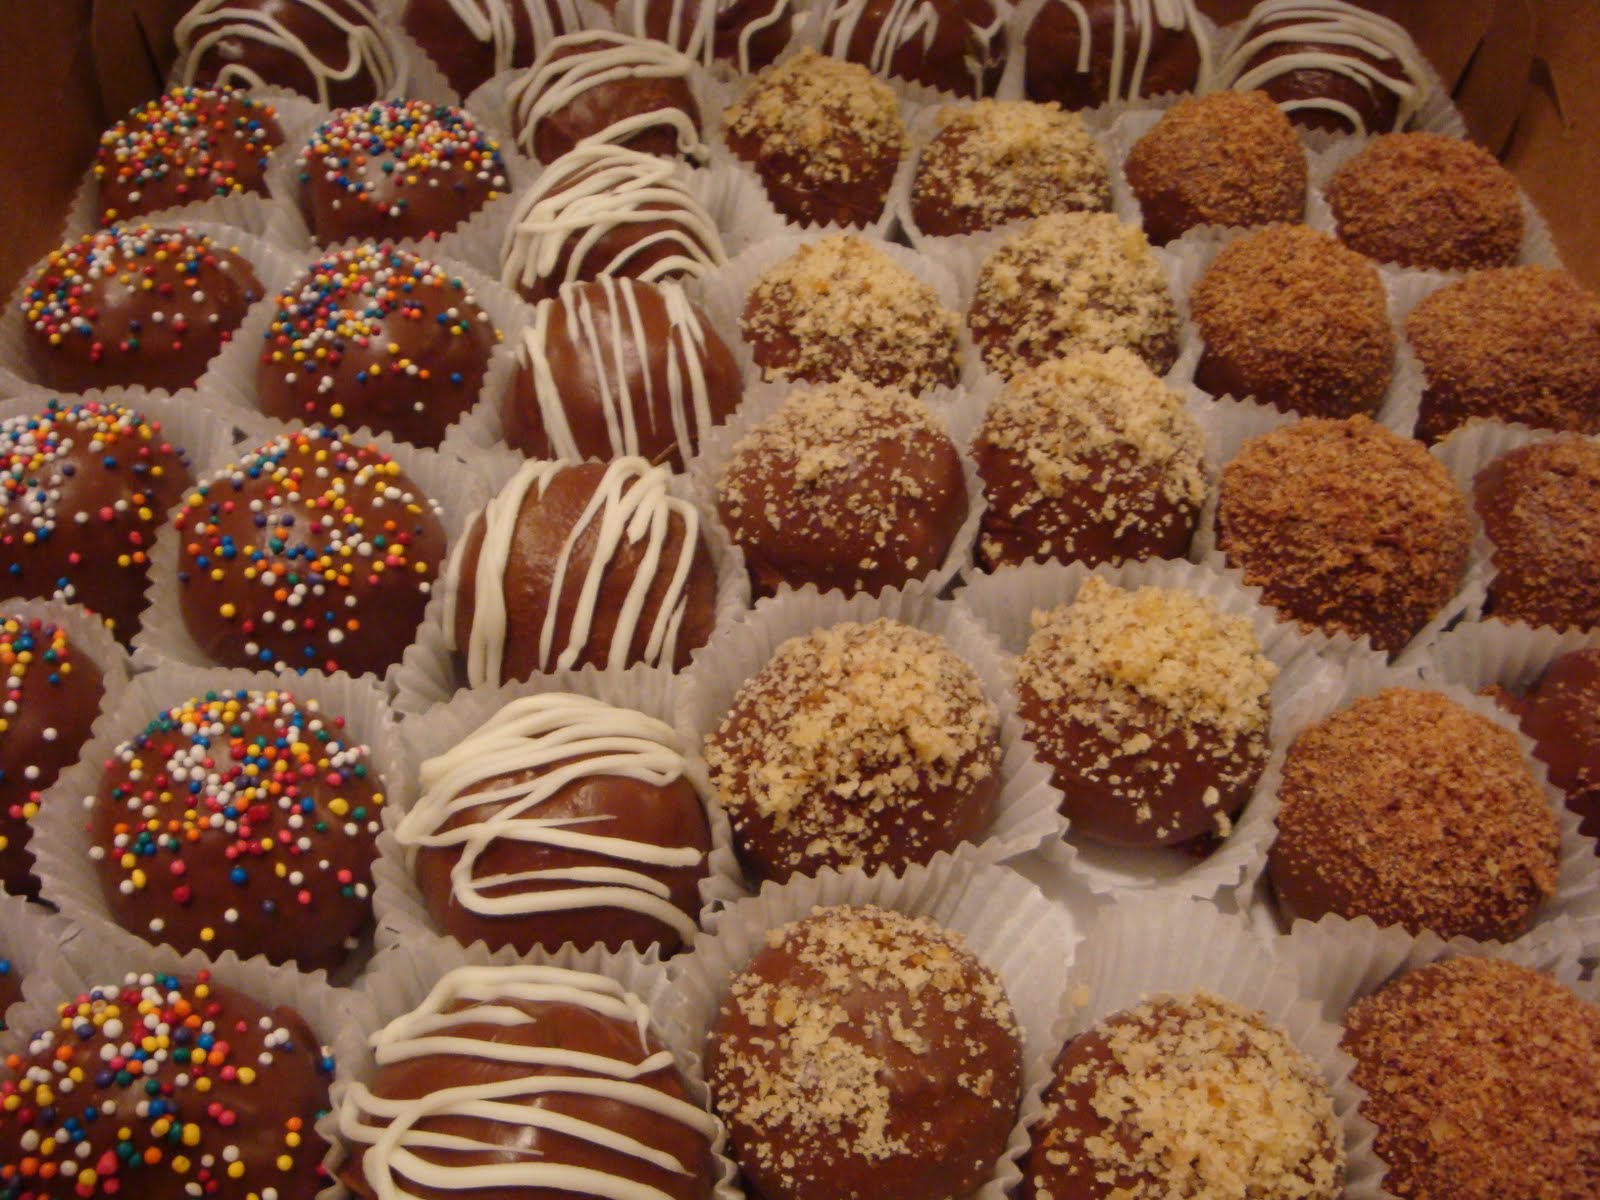
These are really DELICIOUS!  They are super chocolatey and just adorable!  I think I will make these again for valentines day, shaped like chocolates and placed in a heart shaped box!!  Now I just need to find a man to feed them to!

Monday, August 30, 2010

Jewish Apple Cake

Jewish Apple Cake

The vote for Jewish Apple Cake was almost unanimous and I have to say I was pretty pleased because this is probably my most favorite cake EVER!  I made this on Saturday night and by 9:30am this morning (Monday) there was not a crumb left.  This is one of those cakes that you can just eat and eat and eat.  I've never met a person who doesn't love it. 

This cake is extremely easy to make, the worst part is peeling and cutting the apples. 

The directions in the recipe say to mix the cake batter then cut the apples and mix with cinnamon-sugar mixture.  I always cut the apples first and mix with cinnamon-sugar because I like the apples to let some of their juice out.

The only other thing I do differently from the recipe is use apple juice instead of orange juice. I have made this cake MANY times and experimented with OJ, apple juice and even apple cider and found that using Simply Apple juice is the way to go.

After you get your cake batter and apple mixtures ready, start to layer the mixtures into a well greased tube pan.  I always start with cake batter and end with apples. 


The cake takes about an hour and a half to bake and will make your house (and probably your entire neighborhood) smell absolutely delicious!! 


Jewish Apple Cake
 
3 cups all purpose flour
2 1/2 cups sugar
3 tsp baking powder
1/2 tsp salt
1 cup vegetable oil
2 1/2 tsp vanilla
4 large eggs
1/2 cup orange juice (or Simply Apple)
5 large apples
5 tsp cinnamon
5 tbls sugar (separated from other sugar)
 
Preheat oven to 350
 
Beat flour, 2 1/2 cups sugar, baking powder, salt, vanilla, oil, eggs and juice together until smooth.  In a separate bowl combine sliced apples, cinnamon and 5 tbls sugar. 
 
Layer batter and apples in greased tube pan, starting with batter and ending with apples.
 
Bake at 350 for 1 1/2 - 1 3/4 hours.


Tuesday, August 24, 2010

Animal Crackers!!

ANIMAL CRACKERS!!


I was SO excited to make these!  What could be a better way to take a trip down memory lane than these cute little cookies.  For the record I prefer the term ANIMAL CRACKERS.  I know most people say animal cookies but I grew up calling them crackers and I'm sticking to it!  These "crackers" are really a labor of love because they are very time consuming but trust me they are well worth your time.


I used a cute Noah's Ark cookie cutter set from Wilton to get the perfect shapes.


After baking them until they turn brown around the edges I iced them with a simple royal icing.


They came out so CUTE!  They were a huge hit at work!  I am in love with these cookies (I mean crackers)


Animal Crackers

1 cup butter room temperature
1 cup sugar
1 egg
2 tbls whipping cream
1 tsp baking powder
1/2 tsp baking soda
1/2 tsp salt
1 tsp vanilla
3 cups sifted all purpose flour

Cream butter, add sugar slowly.  Cream butter and sugar until light and fluffy.  Add egg, cream, baking powder, baking soda, salt and vanilla.  Slowly add the flour until incorporated.  Wrap dough in plastic wrap and chill until firm (I recommend over night).  Once dough is chilled preheat oven to 400 degrees.  Roll out dough to 1/8 inch thick and cut into desired shape.  Bake crackers on a lightly greased cookie sheet (or cookie sheet lined with parchment) for 5 - 7 minutes or until brown around edges.  Cool on racks before icing. 

Royal Icing

4 tsp meringue powder
4 tbls water
1 tbls vanilla
3 cups powdered sugar
food coloring

Mix all ingredients until smooth.  I find that the thinner this frosting is the easier it is to coat the cookies.  If your icing is too thin just add more water until you reach the desired consistency.  Please note:  this icing starts to dry quickly, always cover the icing while you are not using it.

Thursday, August 19, 2010

Red Velvet

Woo Hoo!  First post!

Well, I figured my first post had to be Red Velvet since people just seem to LOVE this recipe.  This recipe can be  dressed up with fresh fruit or simply decorated with cute sprinkles (my favorite).  The cake is vibrantly red and super moist but the icing is the real star if you ask me. 

Just be careful when mixing, the red dye is very unforgiving!  My Kitchen has many red splotches from years of making this recipe.

Red Velvet Cupcakes

For the cupcakes:

15 1/2 ounces all-purpose flour
1 1/4 tsp baking soda
1 1/4 salt
1 1/4 unsweetened cocoa powder
1 1/2 cups vegetable oil
13 ounces sugar
1 1/4 cups buttermilk
3 eggs
2 tbls plus 2 tsp red food coloring
1 1/4 white vinegar
1 1/4 tsp vanilla extract
1/8 cup water

For the cream cheese icing:

1 1/2 lbs cream cheese room temperature
1 lb unsalted butter room temperature
2 lbs powdered sugar sifted
1 tbls vanilla

For the cupcakes:

Preheat oven to 350

Sift together flour, baking soda, salt and cocoa powder and set aside

Mix oil, sugar and buttermilk until combined in a mixer with a paddle attachment.  Add the eggs, vanilla, vinegar, water and food coloring.  Add the sifted dry ingredients in thirds scraping sides of bowl in between additions until just incorporated.  DO NOT OVER MIX.

Divide the batter into cupcake pans (I usually get 24 standard size cupcakes) and bake for 20-30 minutes or until toothpick comes out clean.

For frosting:

Combine the butter and cream cheese and whip with paddle attachment until creamed.  Add the powdered sugar slowly, scraping sides of bowl in between additions.  Add in vanilla and mix until smooth.